The best part about designing your custom sticker is having it look exactly how you want it! However, making die-cut lines can get confusing. Sticker Mountain is here to help. In today’s blog, we will walk you through creating a die-line for vector and raster images using Adobe Illustrator step-by-step. Let’s get started!
What you need to know
First, a quick reminder:
A raster image is an assembly of individual pixels of color arranged to form an image, also known as bitmaps. From a visual design aspect, raster images are simple to make smaller, but making them larger is tricky. Increasing the size of a raster image will decrease the resolution, making your picture blurry or fuzzy.
A vector image is defined on a plane by connecting curves and lines, and it uses mathematical equations to form shapes. It allows you to create more refined and detailed artwork. No matter how far you zoom in or out on the image, it will stay true to the design, without pixelization.
How to create a Die-Line for a Vector Image
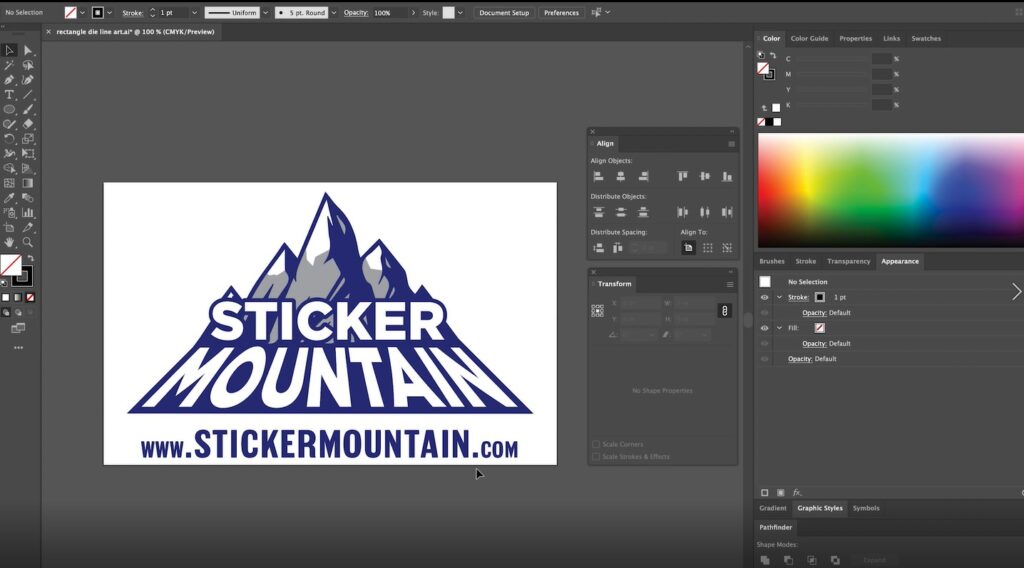
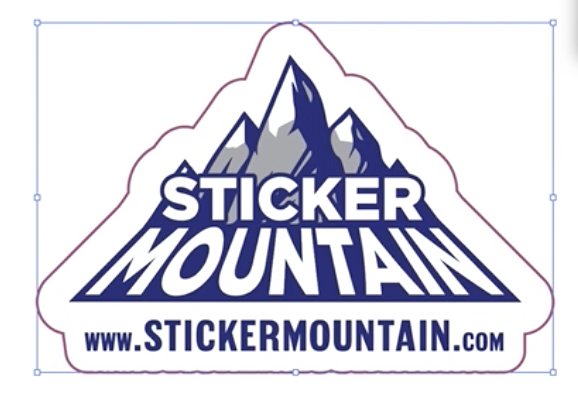
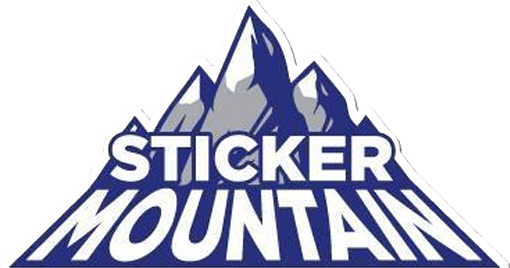
Step 1: Open your artwork in Adobe Illustrator
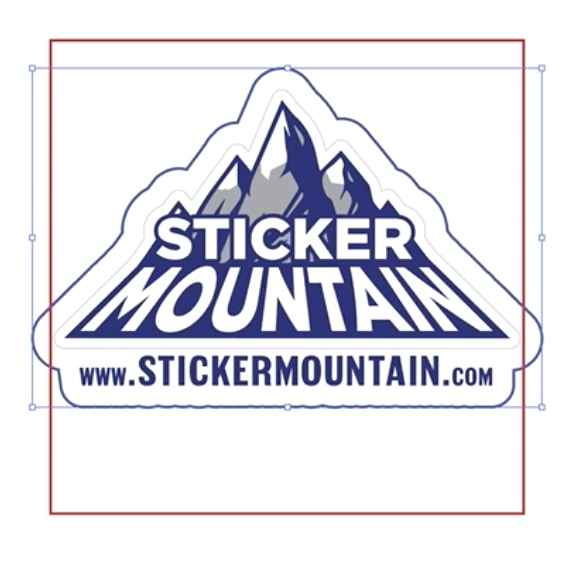
Step 2: Resize your artwork
In this example are going to create a 3-inch custom sticker using a vector graphic. Resize the artwork to 2.75 in. Or what the desired size is for your sticker. This particular example will be sizing it down by 0.25 inches smaller than the sticker. To do this:
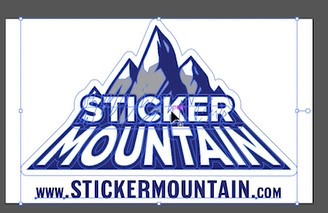
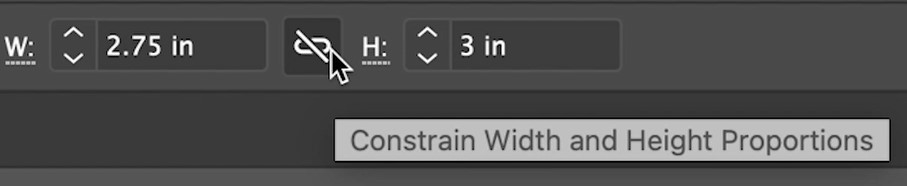
Click on your artwork
Then go to the top of the screen where it has the dimensions. Make sure the dimensions are locked, so you do not warp your artwork in the width section, and type 2.75 inches.
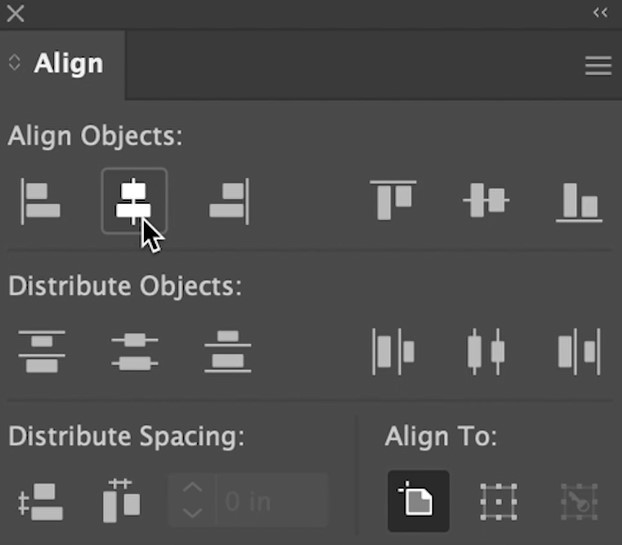
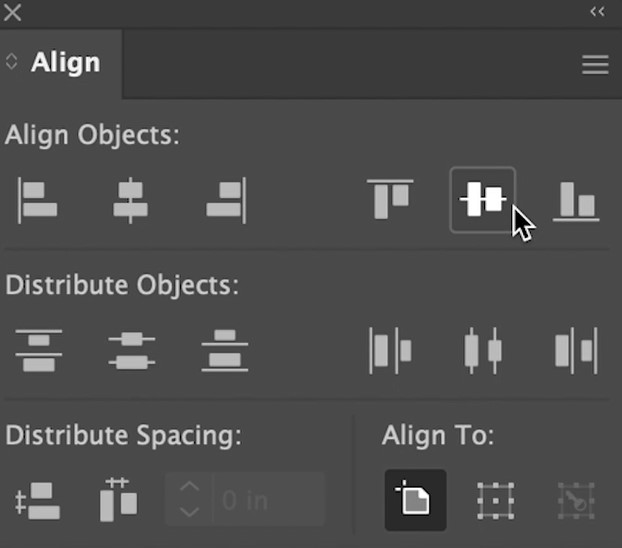
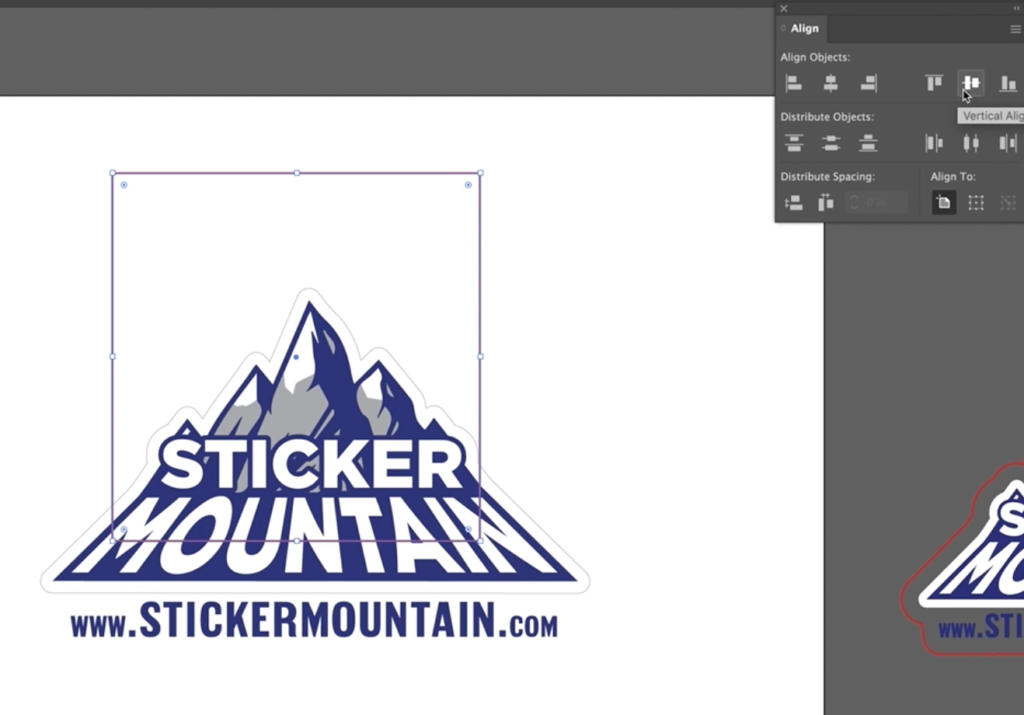
Step 3: Align the Artwork
Go to the align panel, then the align object section and press the vertical and horizontal align buttons
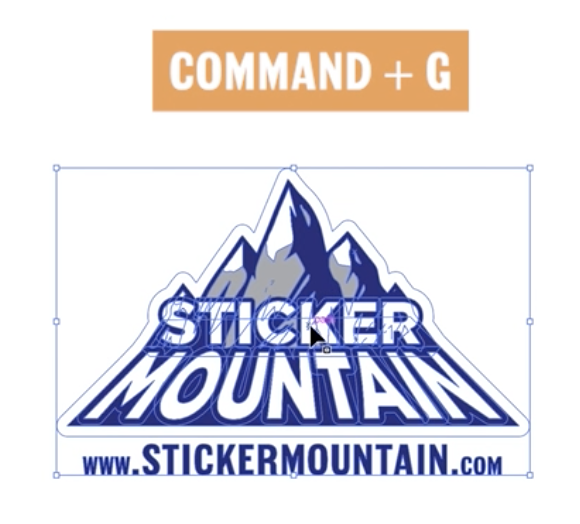
Step 4: Group the artwork
First select all of the artwork, and make sure it’s grouped together by:
Clicking Object at the top of your screen
Then click the Group from the dropdown
OR use your keyboard and type COMMAND+G
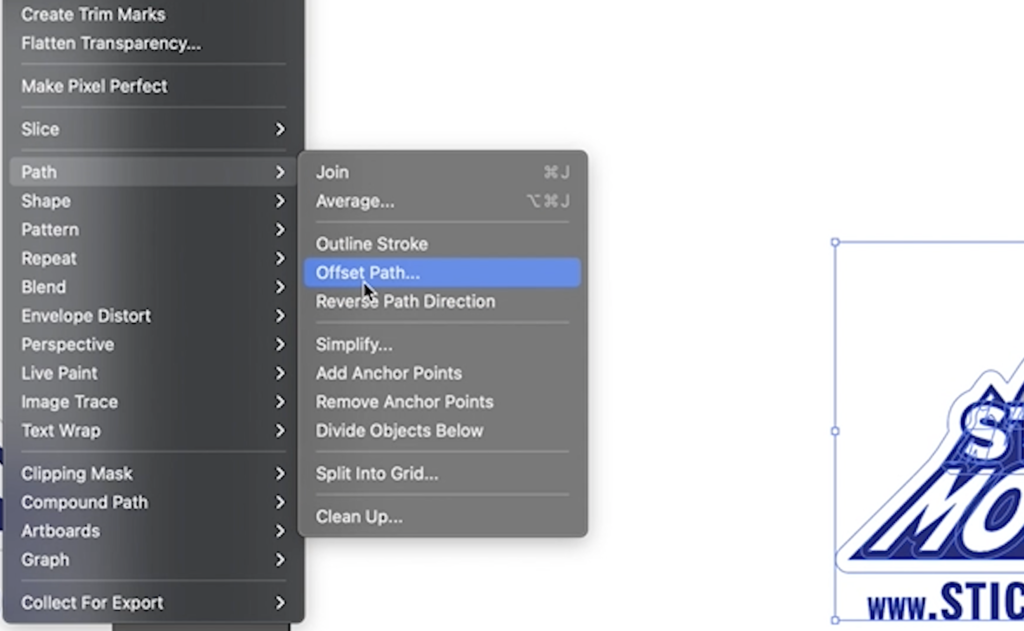
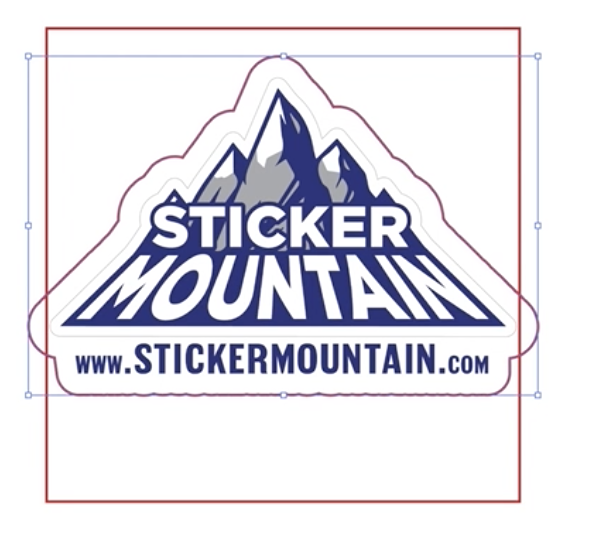
Step Five: Offset Path the artwork
With your artwork still selected:
Go back to the Object dropdown
Then all the way down to Path
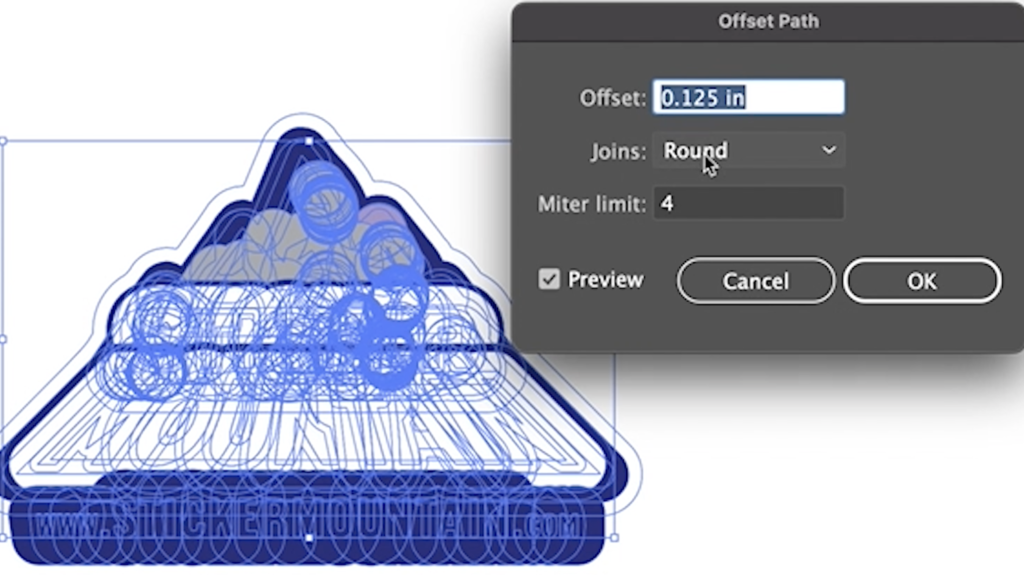
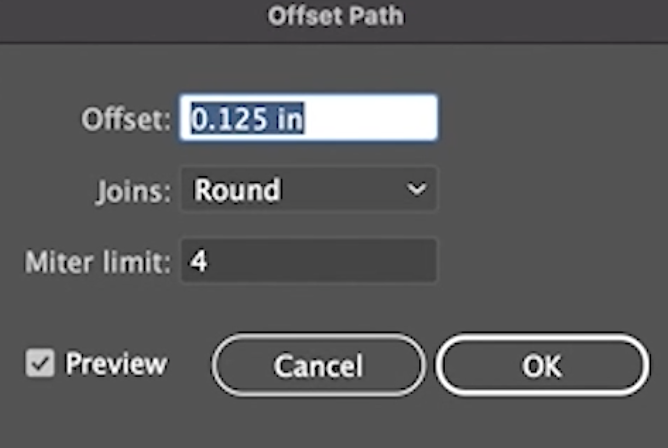
Click Offset Path; this will open a dialog box
In the dialog box, the “Offset” should be set at 0.125 inches, Joins should be set to round, and the meter limit will is set to 4.
Click OK
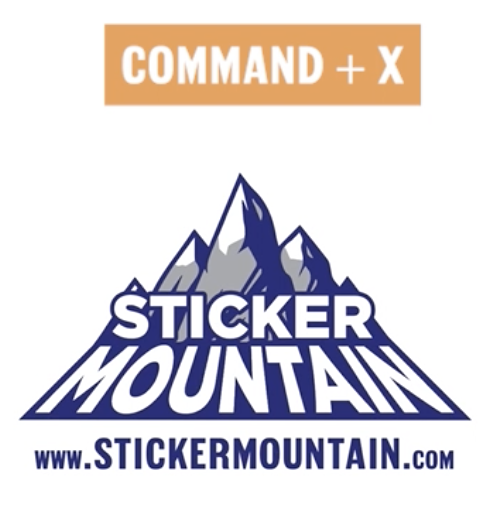
Step six: Cut and Paste in place
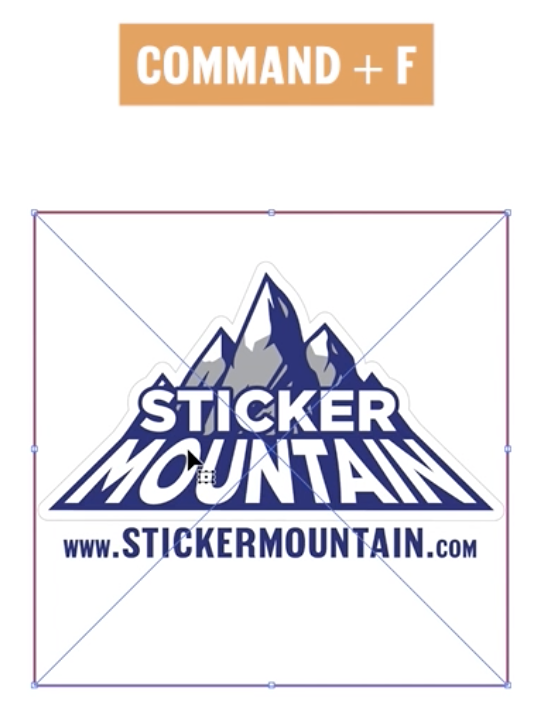
Press COMMAND+Xto cut out the unneeded mess but to keep your artwork
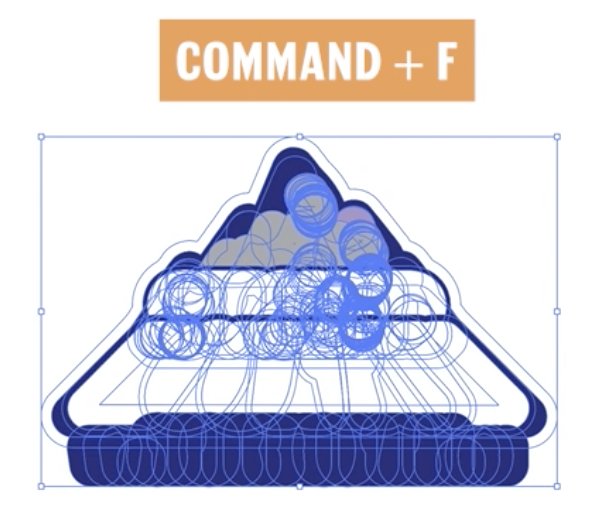
Next, press COMMAND+Fto paste your messy artwork blob on top.
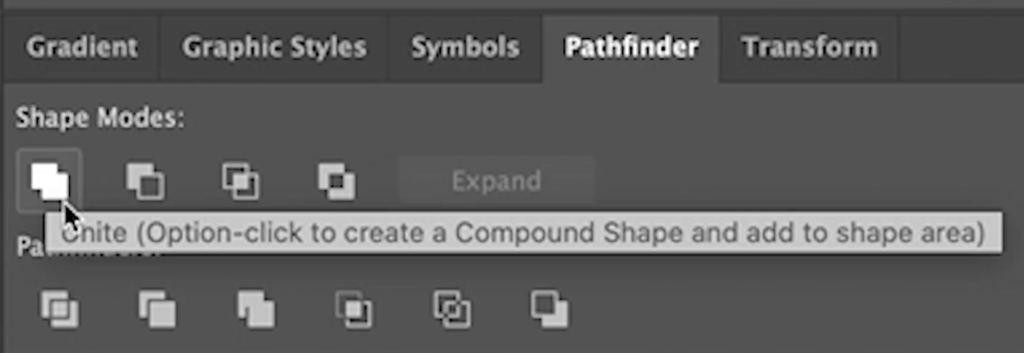
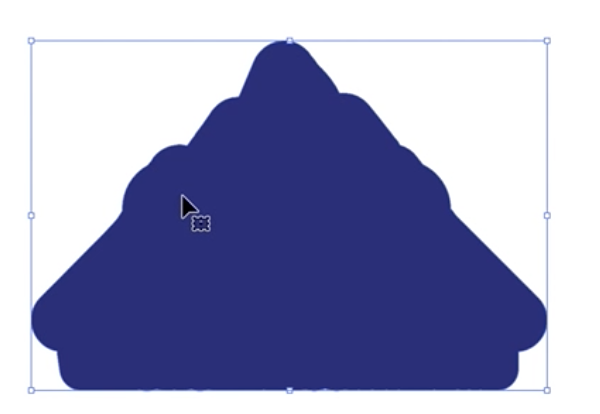
Step Seven: Unite the Shapes
With your messy artwork blob selected, go to the Pathfinder window at the bottom right of the screen.
Under Shape Modes, click Unite.
If you are having an issue seeing the lines, reselect it and click unite again.
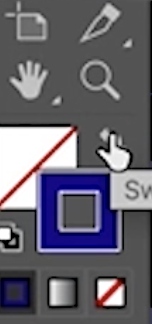
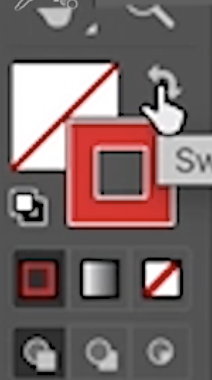
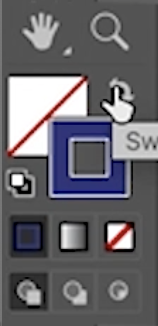
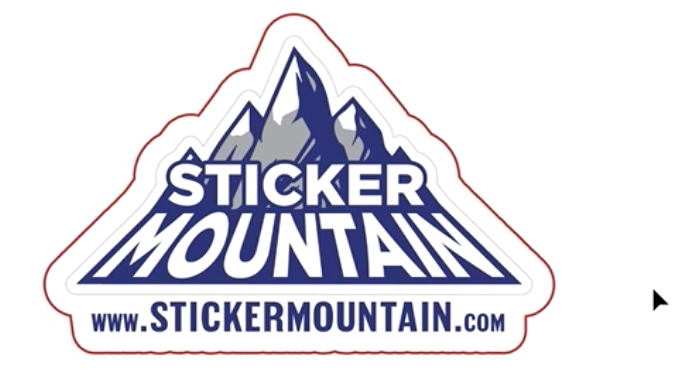
Step Eight: Switch Fill Color and Stroke
Switch the fill and stroke colors so you have a nice, simple die line for your custom-shaped sticker. You can use the keyboard shortcut SHIFT-X.
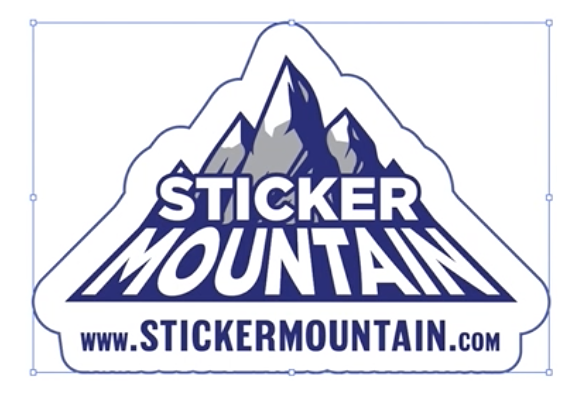
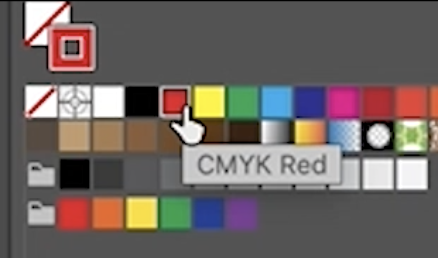
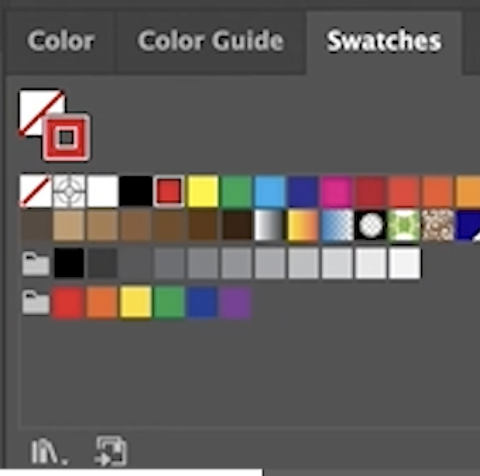
Under Swatches, you can find the colors to change the stroke color to something bright, like a red.
And you’re finished!
How to Create a Die-line for a Raster Image
A raster image might need a little more help when scaling. It’s set up similarly to the vector graphic and will be sized down to 2.875 inches and aligned with the center of the artboard.
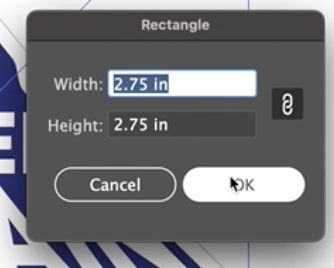
Step One: Create a square
Select the rectangle tool on the left side of your screen
Click on a space on your artboard, and a dialog box will appear requesting dimensions for your square.
Next, enter 2.75 inches for the width and 2.75 inches for the height.
Press OK
Step Two: Align the image and the square to the center
Using the align panel, center the square with your image.
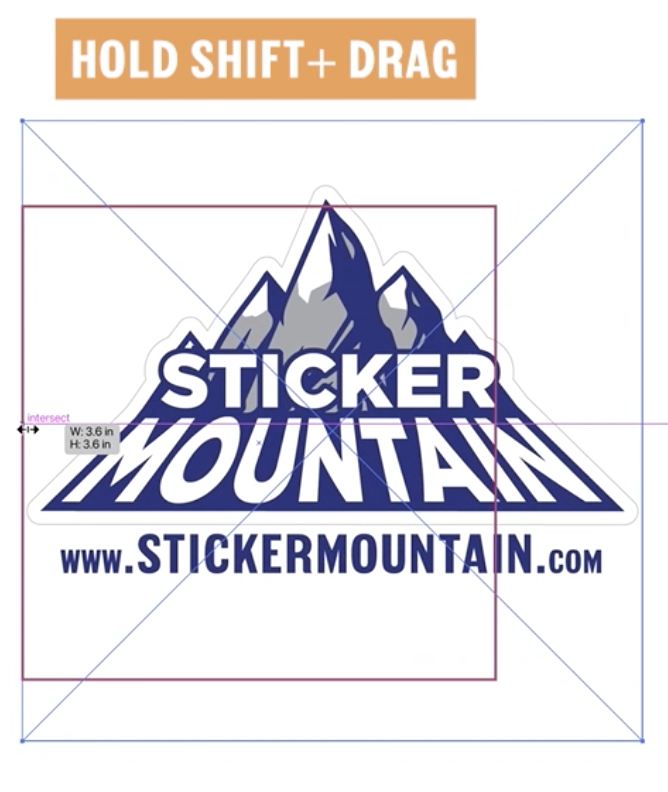
Step Three: Scale the artwork to fit inside the square
On your keyboard, HOLD SHIFT + DRAG
Size down your artwork so the most significant edges fit inside the box
Next, switch the fill and stroke so the stroke is colored and the fill is empty
Step Four: Copy and Past
Select the design and press COMMAND C to copy
Then, press COMMAND F to paste on top of the original artwork; this is to make changes to this copy and not lose or ruin the original.
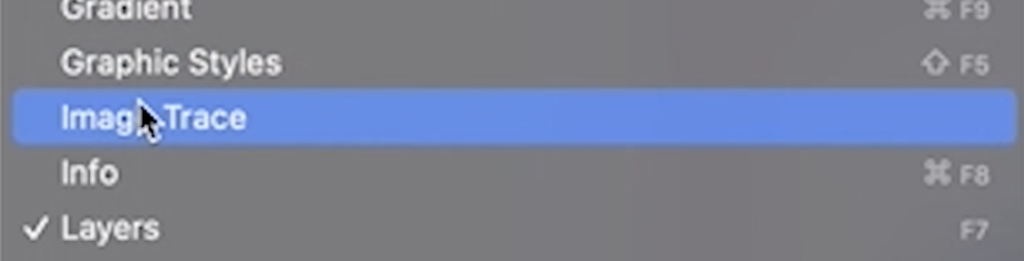
Step Five: Select Image Trace
With the top image selected, go to the window dropdown at the top of the screen, and select Object.
Select image trace
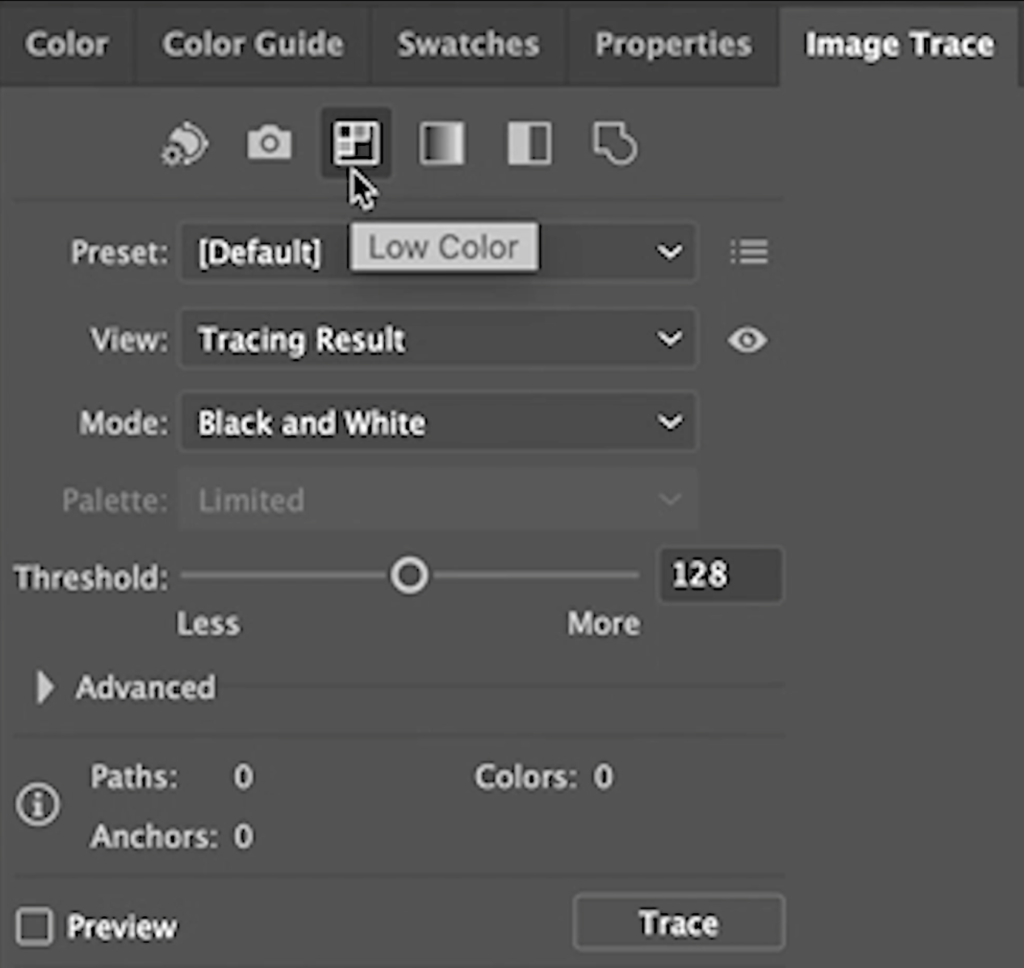
Next, select the third icon in the panel, called low color; this will allow Illustrator to work its magic.
Now you have a image traced copy of your design.
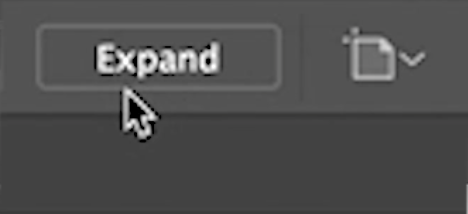
Step Six: Expand
In this step, go to the top menu bar and click expand; this makes your life traced image into a vector.
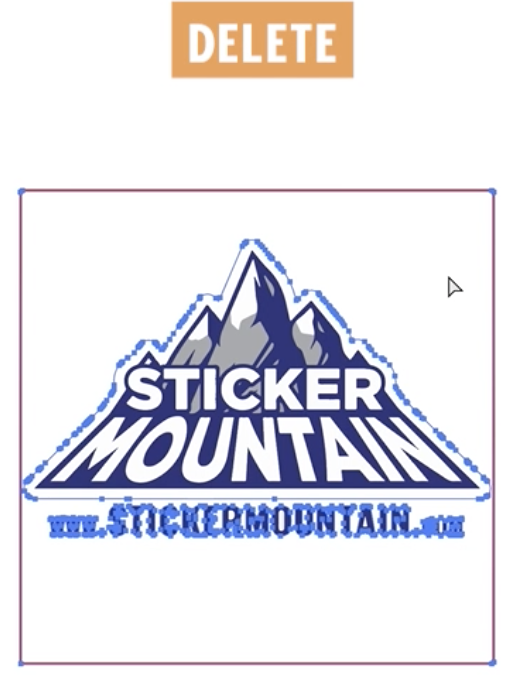
Step Seven: Remove white background
First, go to the direct section tool or press A
Then select the square around your artwork and hit DELETE
Now you have a vector version of your raster image.
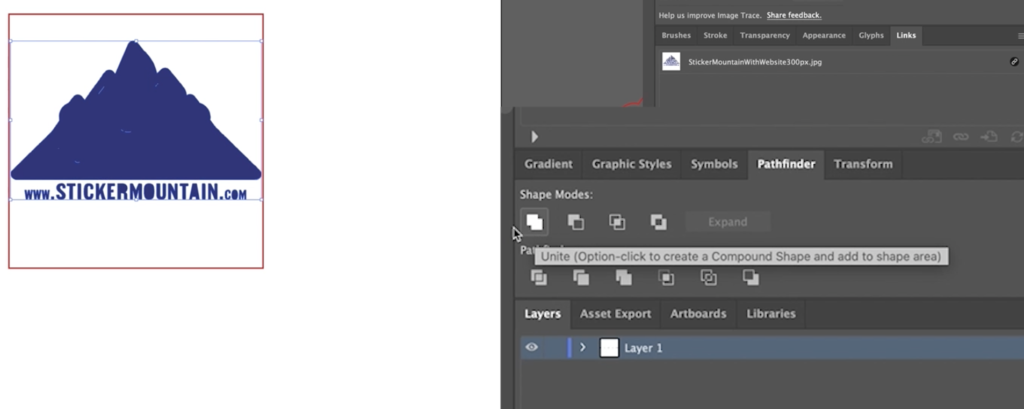
Step Eight: Select Unite under Pathfinder
With the object selected, go to the pathfinder menu and choose unite.
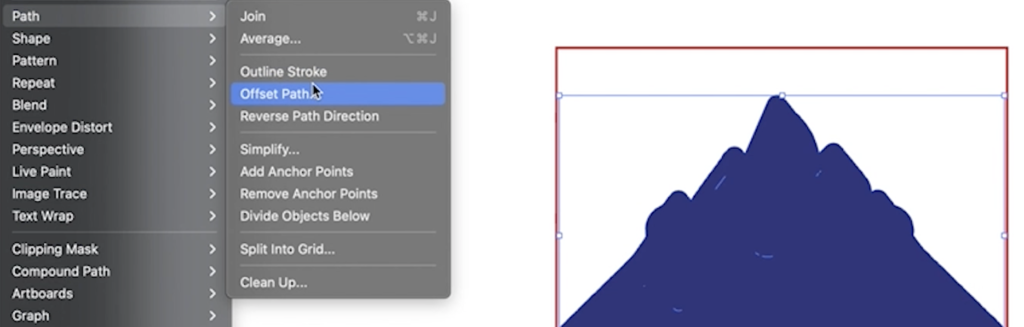
Step Nine: Offset Path
With your artwork still selected:
Go back to the Object dropdown
Then go all the way down to Path
Click Offset Path; this will open a dialog box
In the dialog box, the Offset should be set at 0.125 inches, Joins should be set to round, and the meter limit should be set to 4.
Click OK
Step Ten: Swap fill and stroke
Switch the fill and the stroke colors, so you have a nice easy die-line for your custom-shaped sticker.
Under swatches, you can find colors to change the stroke color to something bright.
Finally, delete you square and now you have a die cut line for a custom sticker!
Your Custom Stickers are now ready to be printed!
Contact Sticker Mountain and make your artwork become a reality! For more step-by-step information, watch our YouTube video below! To order your custom sticker, visit here to quickly get your order started!
Play Video about custom die line for raster and vector images