Creating die-lines in Adobe Illustrator can get confusing from time to time. Sticker Mountain is here to help you with a step-by-step tutorial on creating a oval die-line for your sticker in Adobe Illustrator.
For the example, we will use a 3 X 2-inch oval sticker. However, you may use your own desired size. Let’s get started!
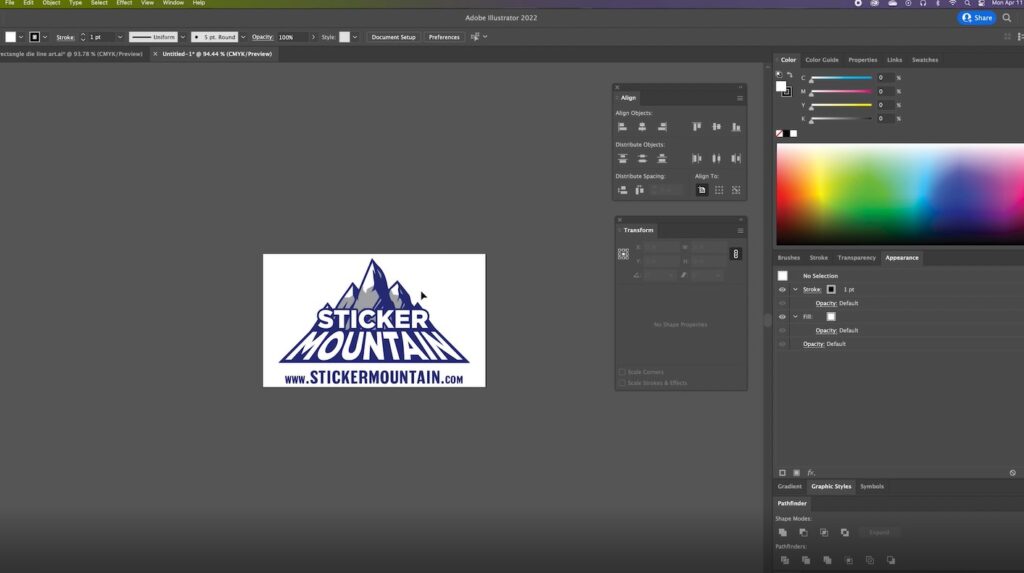
Step 1: Open your artwork in Adobe Illustrator
Step 2: Resize your artwork
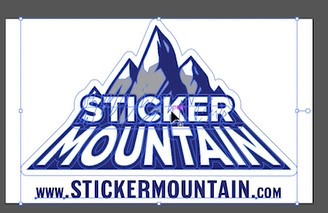
Resize the artwork to fit inside the 3×2 Inch oval. Or what the desired size is for your sticker. This particular example will be sizing it down by 0.25 inches smaller than the sticker. To do this:
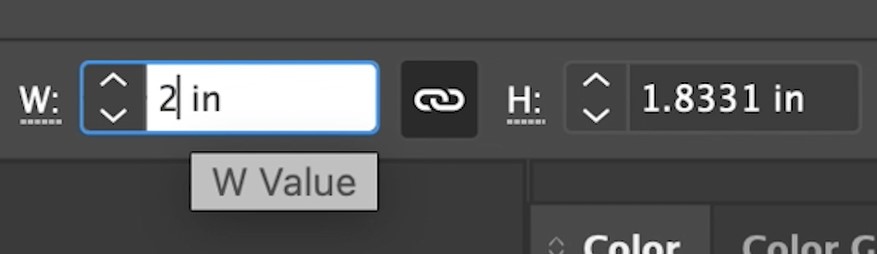
Click on your artwork
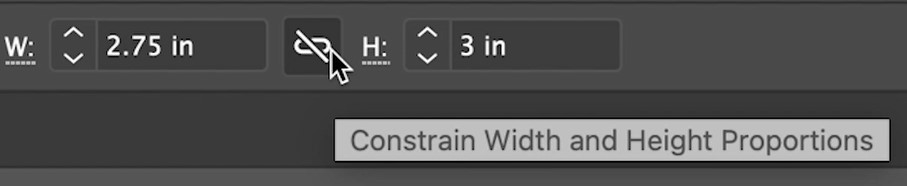
Then go to the top of the screen where it has the dimensions. Make sure the dimensions are locked, so you do not warp your artwork in the width section, and type 2.75 inches.
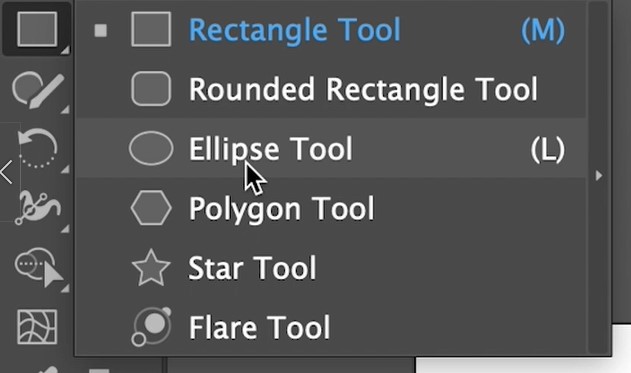
Step 3: Create an oval
On the tool panel located on the left side of the screen, select the ellipse tool.
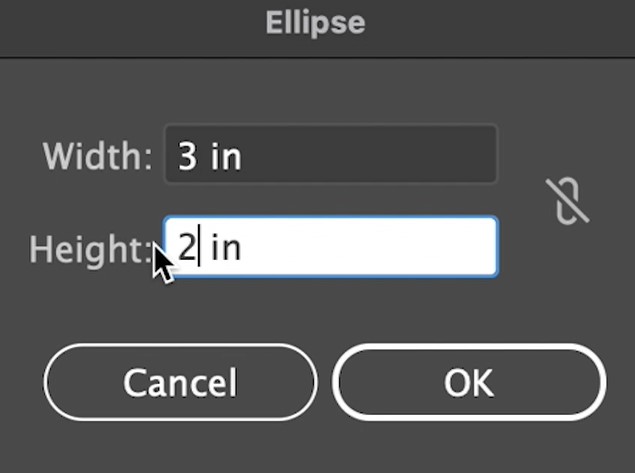
Click on an empty space on your art board. A dialog box will pop up asking for the dimensions for your oval.
Inside the dimensions box, you will put 3 inches for the width, and for the height, you will put 2 inches (or whatever you want your oval size to be).
Then press OKAY
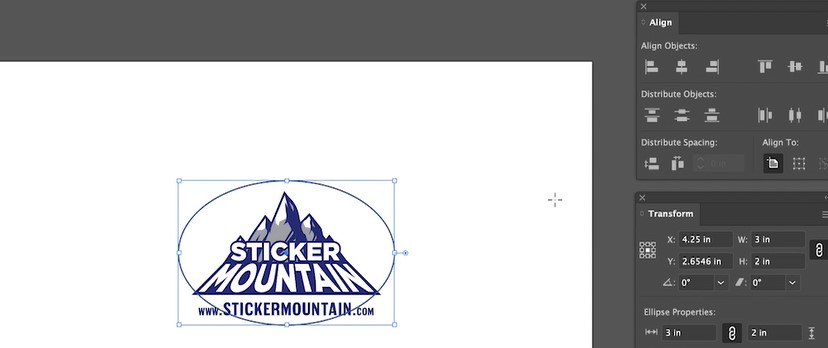
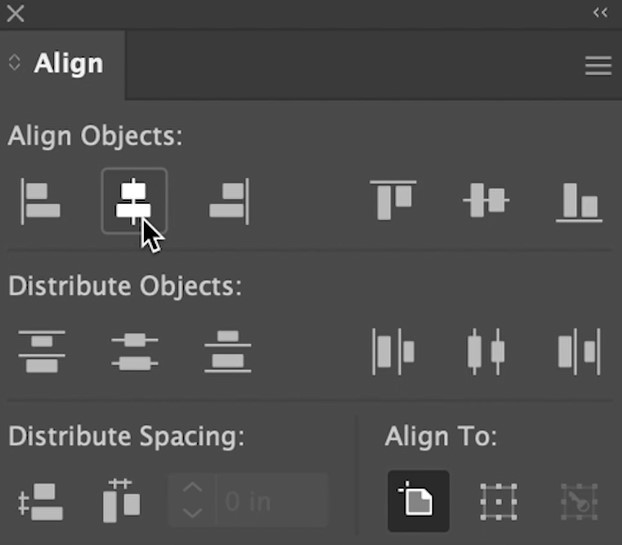
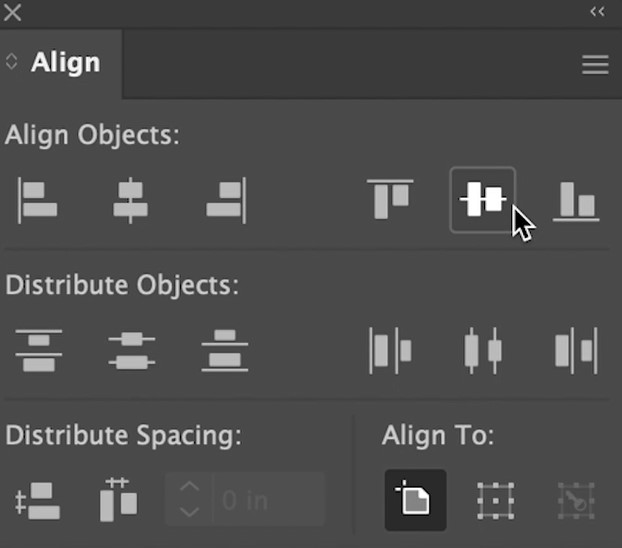
Step 4: Align the oval with your artwork
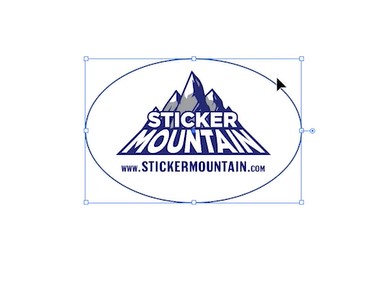
Finally, it is time to line up youroval vertically and horizontally, so it lines up with your artwork.
Go to the align panel, then go to the align object section and press the vertical and horizontal align buttons; this will make it easier to align the circle over the top later in the process.
Step Five: Adjusting your artwork to fit inside the oval
If you notice your artwork does not fit inside the oval, no need to worry, we have the solution!
First click on the artwork
Then go back to the dimensions, and instead of inserting 2.75inches in width, type in 2 inches.
Depending on your oval size, you may need to insert a couple of different numbers to achieve your desired look.
Finally, use the Shift + arrow keys to center the oval around your artwork.
Your custom sticker is now ready to be printed!
To order your custom sticker, click here to get your quick order started! For more step-by-step information on making an oval sticker in Adobe Illustrator watch the video tutorial! Contact Sticker Mountain and make your artwork become a reality!
Play Video about how to create an oval die line sticker