It’s exactly what it sounds like it is. A sticker sheet is a large sheet of paper that has multiple sticker designs on a single sheet. The cool thing about sticker sheets is they are incredibly customizable, from choosing the stickers on the sheet and their size and shape to the sheet size itself. The sticker sheet is your oyster; make it what you want! There are three different methods for customizing your sticker sheet. Today Sticker Mountain will be showing you method number two. Make sure to peek at method number one because it shows you how to create die-lines for your stickers. You can check out method number one here!
What you need to know
How to create a Custom Sticker Sheet
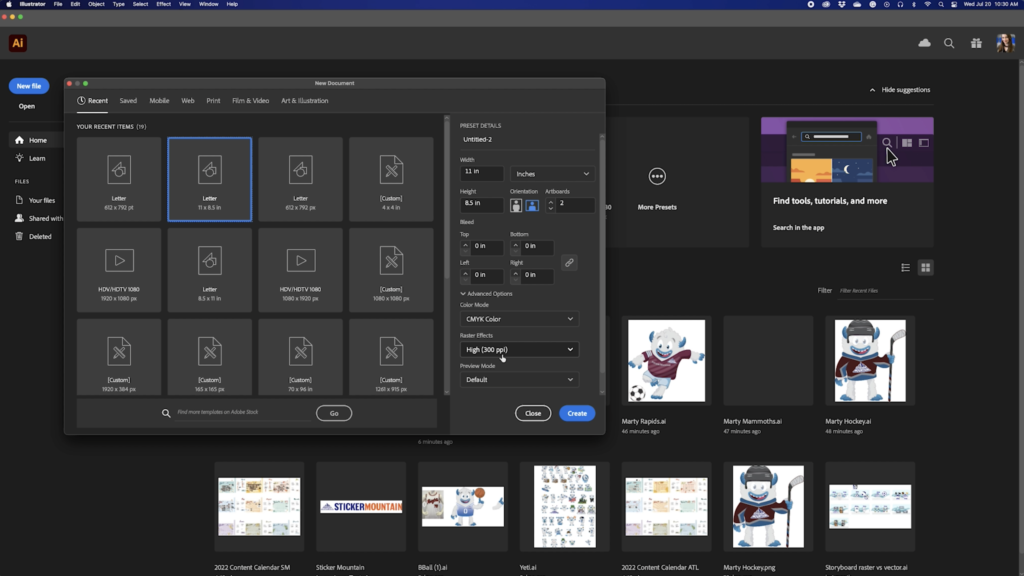
Step 1: Open your artwork in Adobe Illustrator
We are creating a new document the size of a sheet of paper.
Hit Landscape orientation so the file is 8.5″ tall and 11″ wide
Under Advanced Settings, make sure the color mode is in CYMK.
CMYK color mode ensures accuracy between colors we see on the computer and when we print them.
Raster effects are set to the highest at 300 ppi, allowing for high-quality printed images.
Press Create
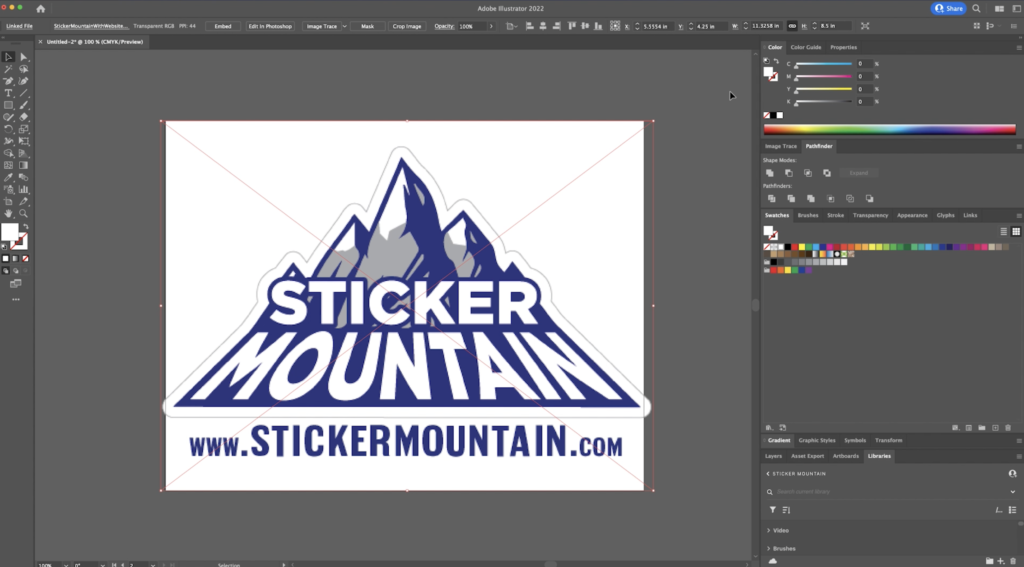
Step Two: Create a Die-Line for the Background
Next, we are going to create a custom background using another design.
To do this, we will copy the Sticker Mountains Logo onto the artboard and scale it to fit the board.
As well as in the last tutorial, scale up the artboard by a half inch on all sides by adjusting the dimensions at the top of the toolbar.
Next, go to the dimensions at the top of the screen and type 11.5″ for width and 9″ for height.
Double click on empty space to exit back to your artboard.
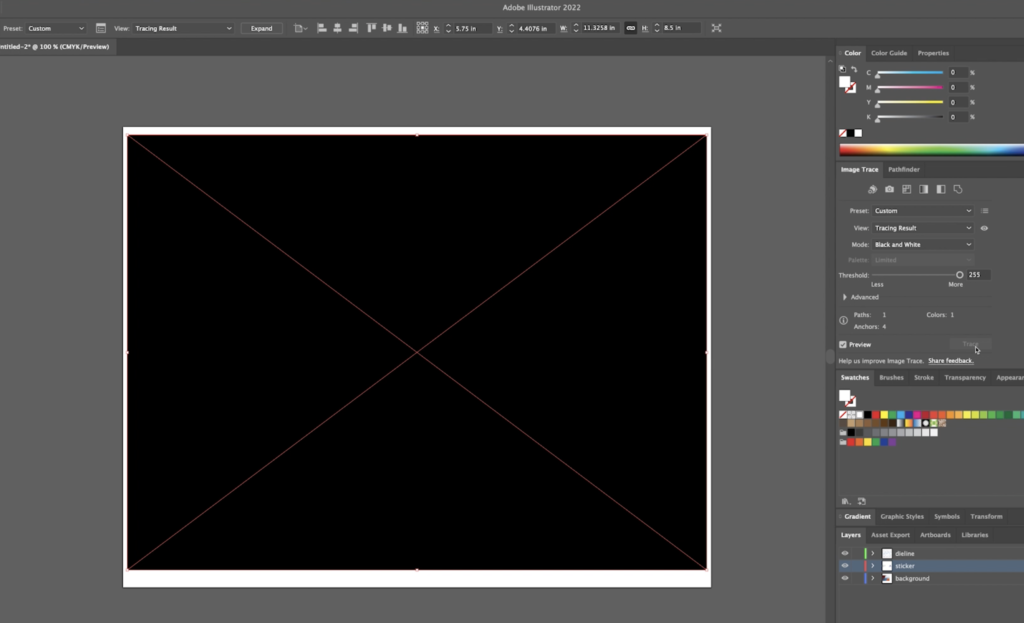
Bonus! Edit Colors to Assist in Image Trace
Now it is time to image trace. However, this image gives a few color issues when selecting Tracing Options. How do we get around that with a full silhouette in the image?
Easy, make sure the logo image is embedded into the art file at the top right of the page.
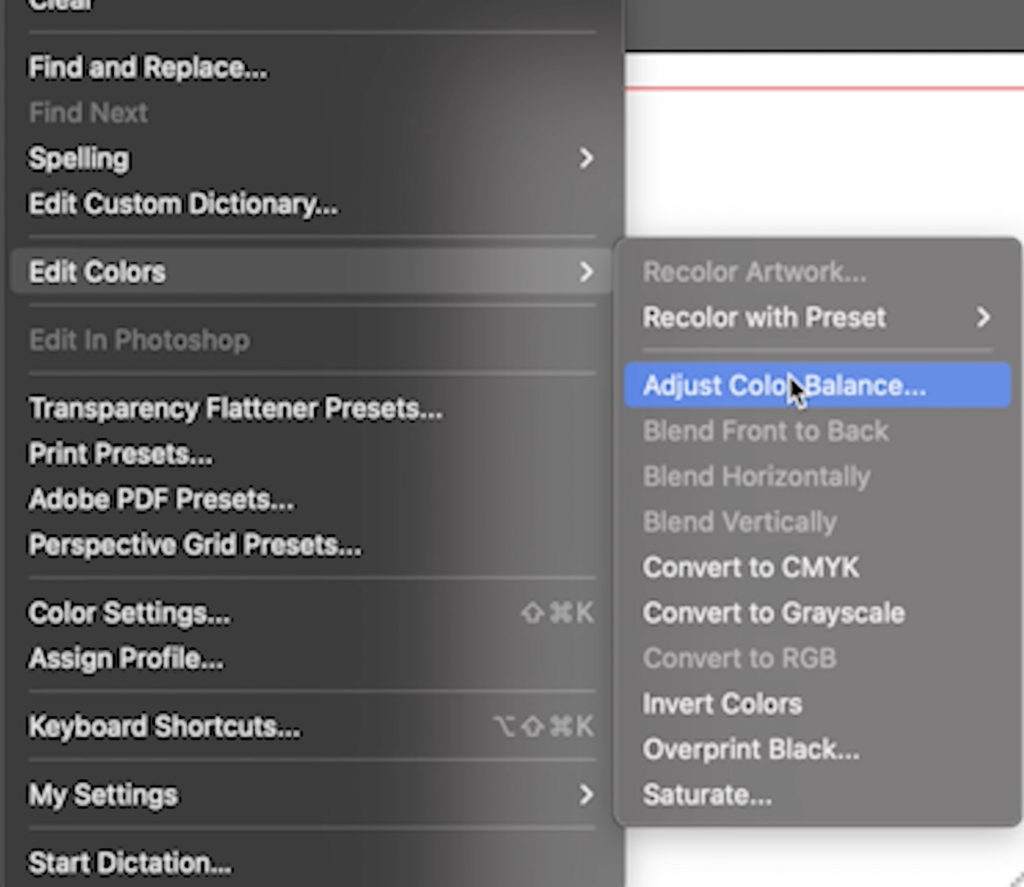
Next, go to Edit, then go down to Edit Colors.
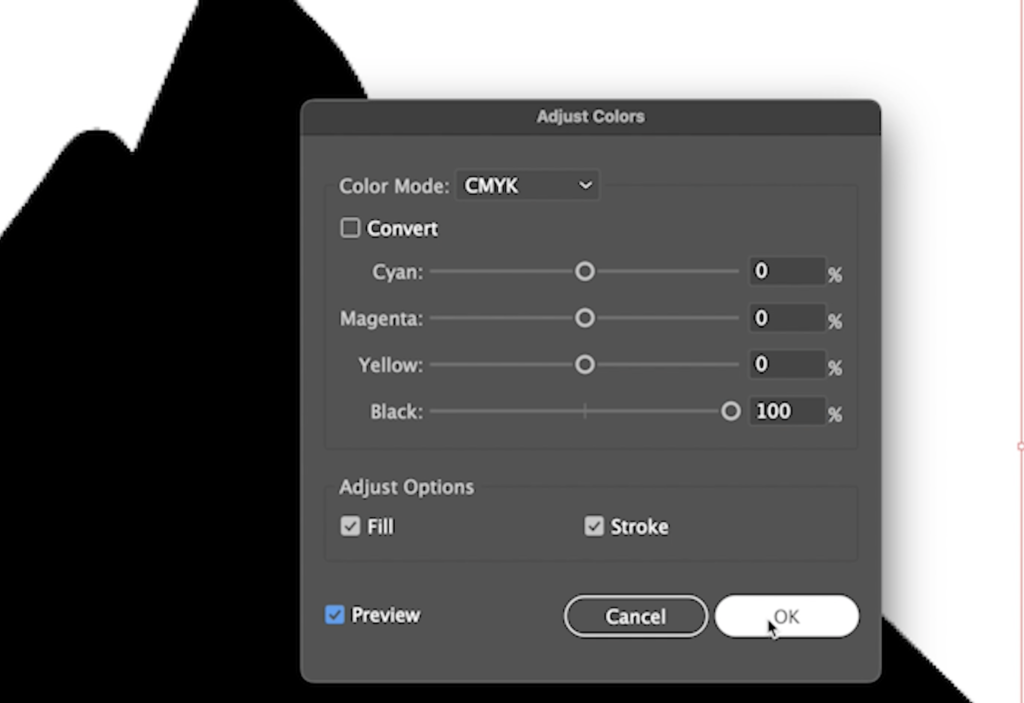
Then, go to Adjust Color Balance. That will bring up a dialog box to adjust colors.
Turn Black to 100%, and you can see that changes by pressing the Preview button.
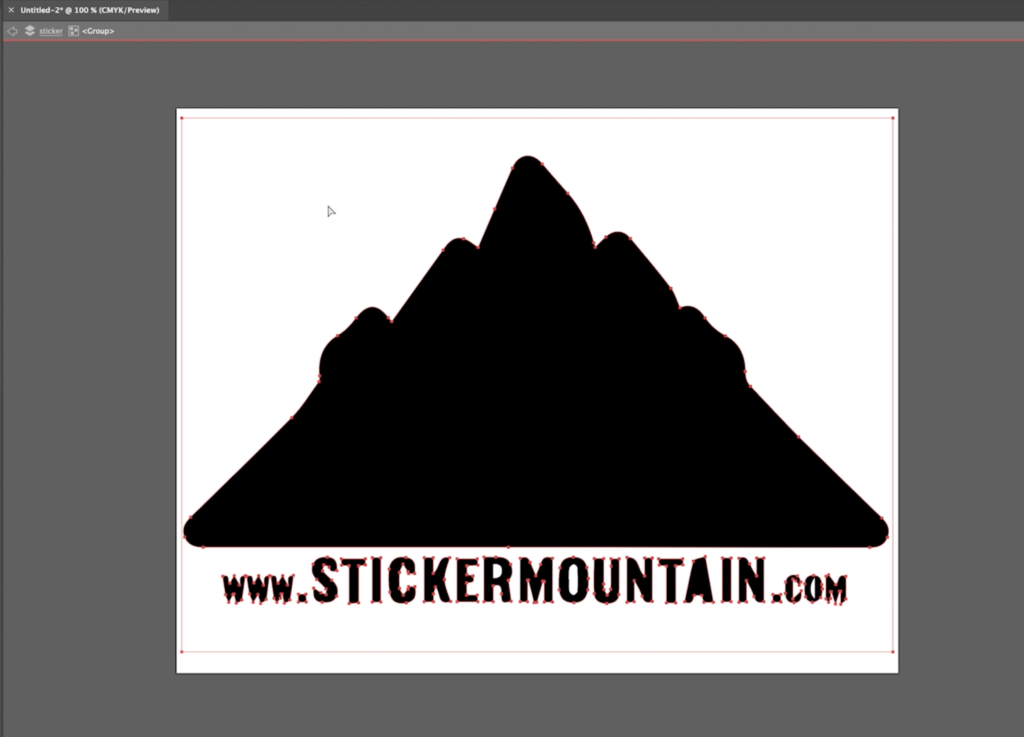
Click OK– Now, it will be much smoother and complete.
Next, click Expand at the top of the page.
Double-click the image to enter isolation mode and use the direct selection tool to delete any white background.
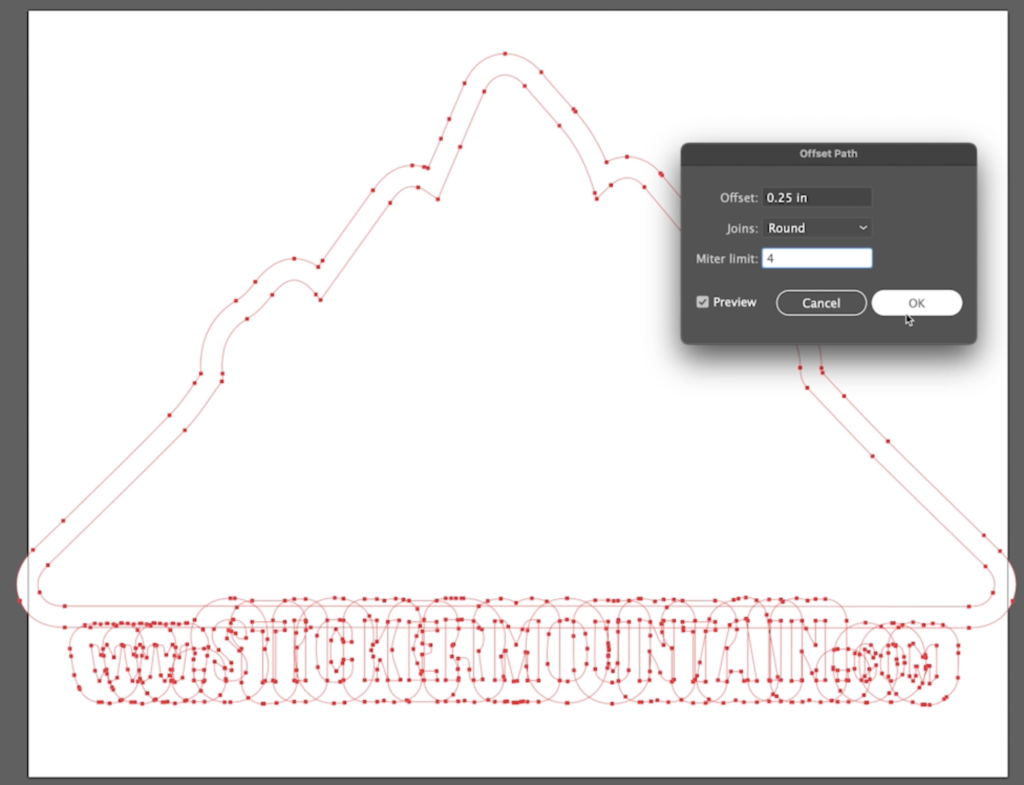
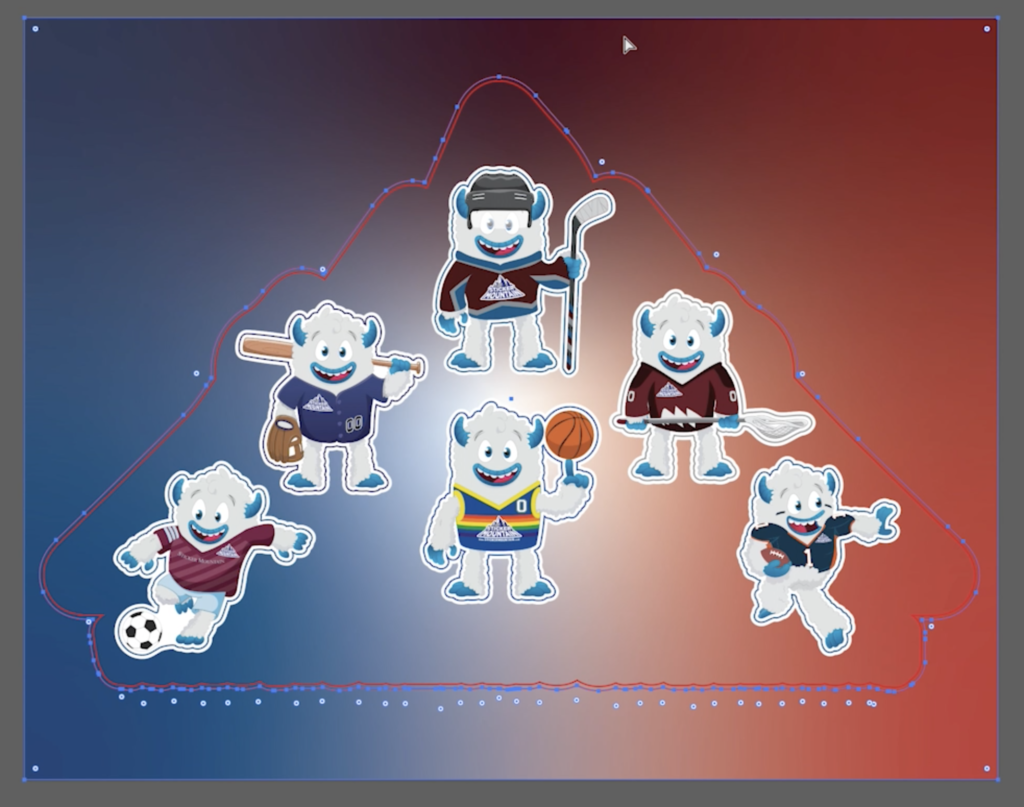
Click Unite, and Offset the path once more.
At this time, play around until you get an effect you like best that will create an ample enough space to incorporate everything.
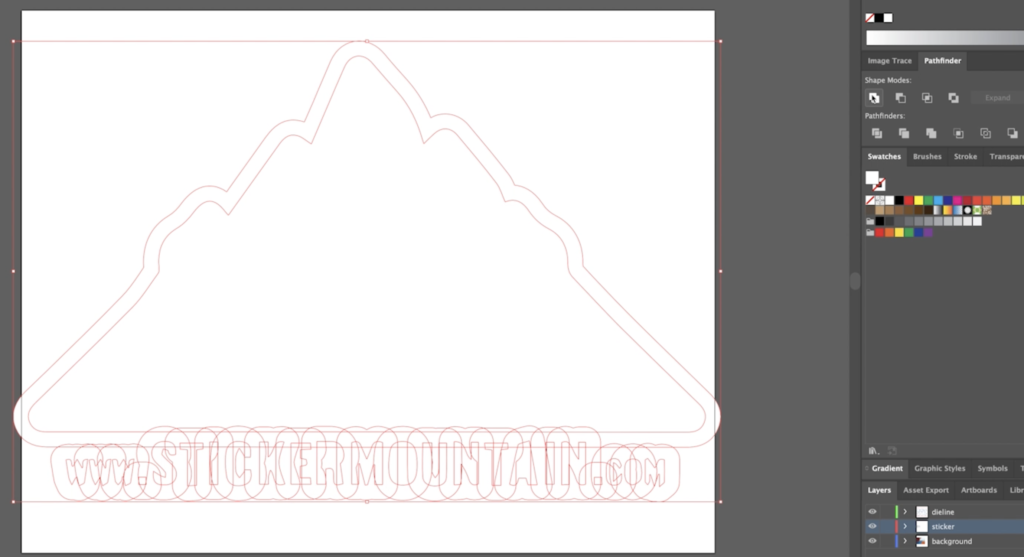
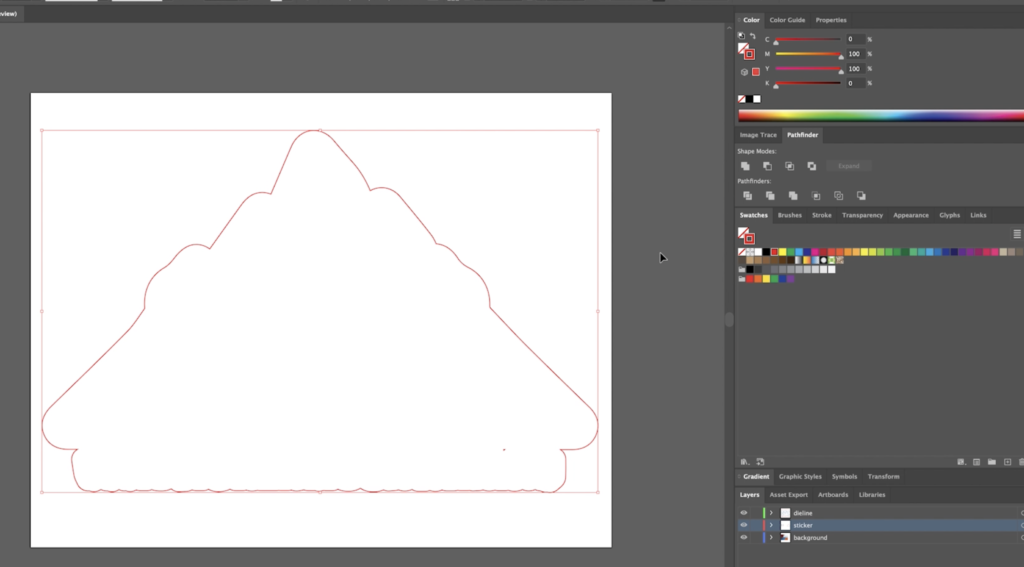
With everything selected again, click Unite. (if you need to, size down your outline to fit inside your artboard)
Switch the Fill and Stroke with SHIFT + X and change it to red to be more visible.
Make sure to delete any stray lines. Doing so will ensure the laser cutter will not cut something you didn’t want it to.
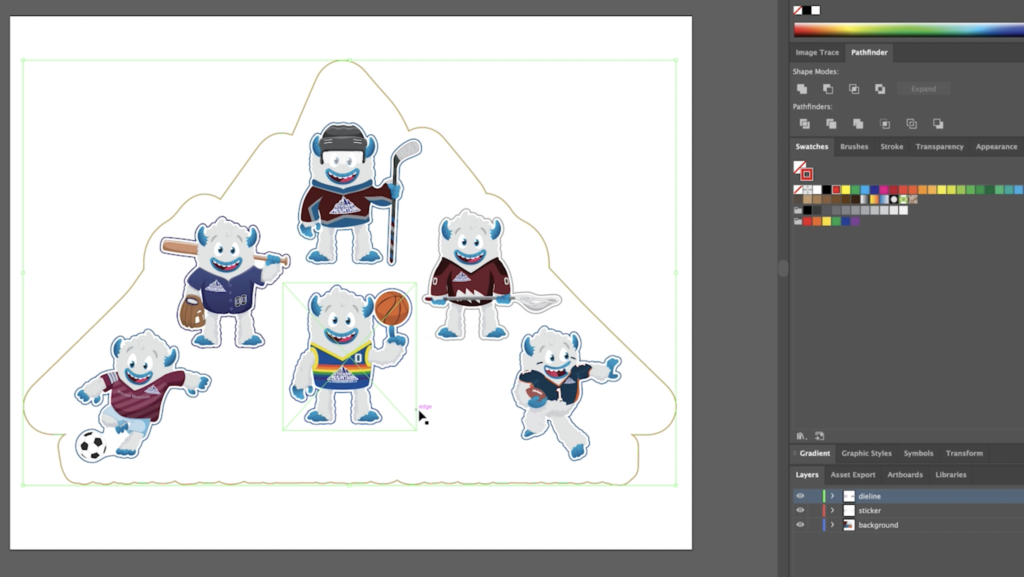
Step Three: Place Your Stickers
In this next step, we will use the same stickers we created in the first tutorial video and blog. Please check that out here!
Next, arrange the stickers however you want inside your custom sticker sheet.
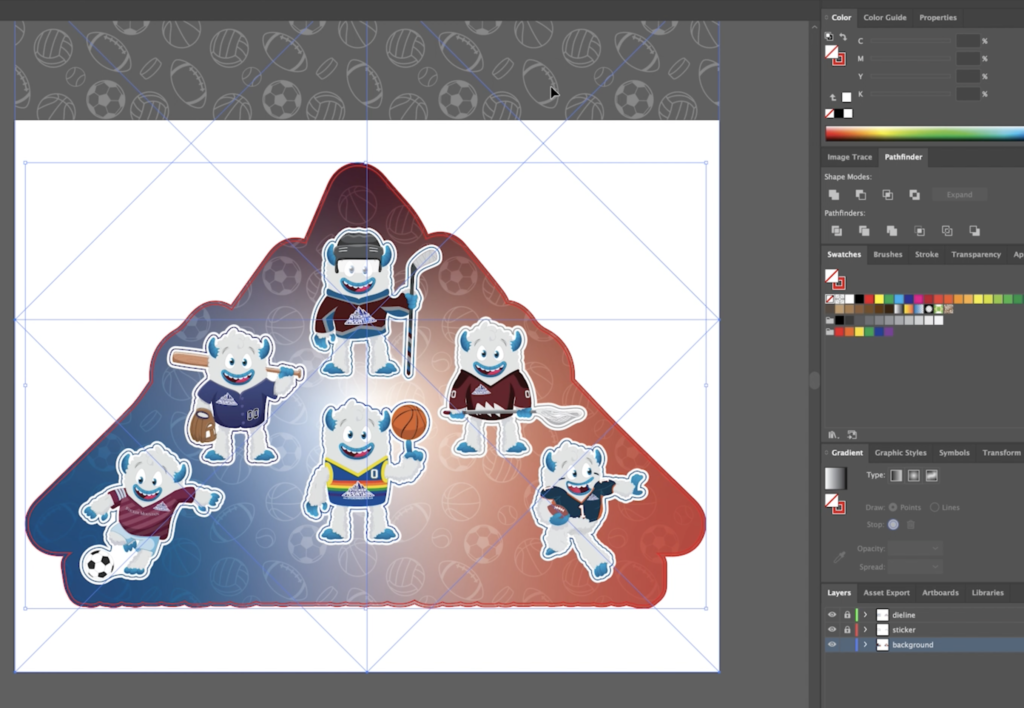
Step Four: Create a Background
Finally, we will need to create a background for our stickers to live in.
At this time, we will create a duplicate of your custom die-line and a clipping mask.
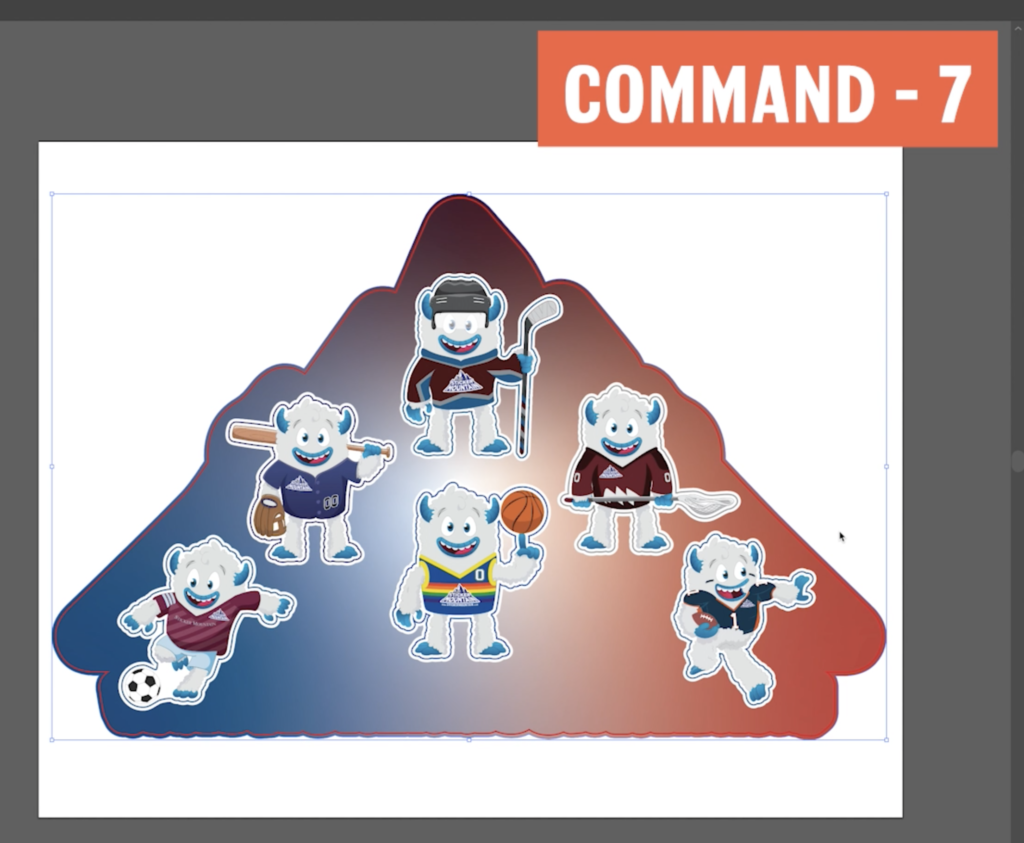
To do so, click the die-line and the other object, such as your gradient background or pattern.
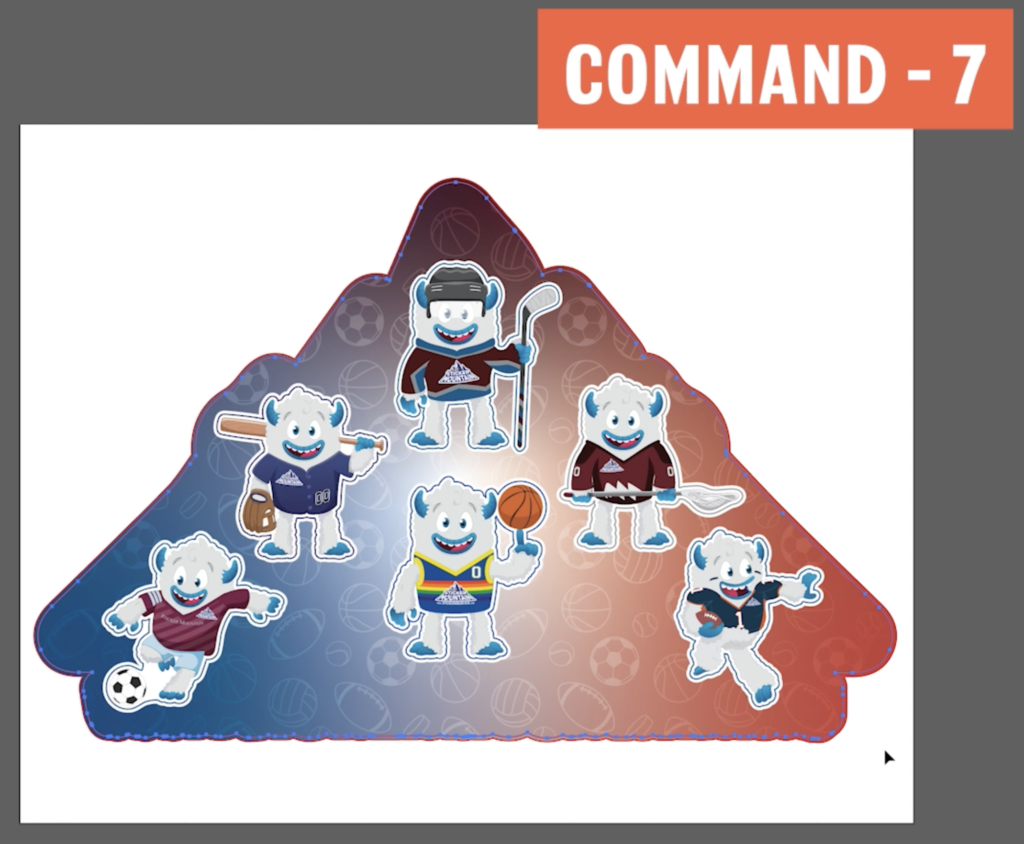
Press COMMAND + 7
Last but not least, add your logo if needed
The background for your sticker sheet is finished!
Your Custom Stickers Sheets are now ready to be printed!
Now that your custom sticker sheet is complete, it is time to upload your artwork to Sticker Mountain. You will have your stickers in the blink of an eye with how fast Sticker Mountain’s turnaround time is. If you want to watch a video with this tutorial, you can watch down below! For any questions, please call our top-of-the-line customer service team or visit our FAQ page!
Play Video about how to make a custom sticker sheet
Random Fact of the Day
Did you know, during a 1979 Broncos home game, fans were surprised to see actor/comedian Robin Williams in full cheerleading attire on the team’s sideline. The actor didn’t really score a gig with the squad, but the footage Williams shot at the game did appear in an episode of ABC’s Mork and Mindy.